How And Why To Build A Passive Solar Greenhouse
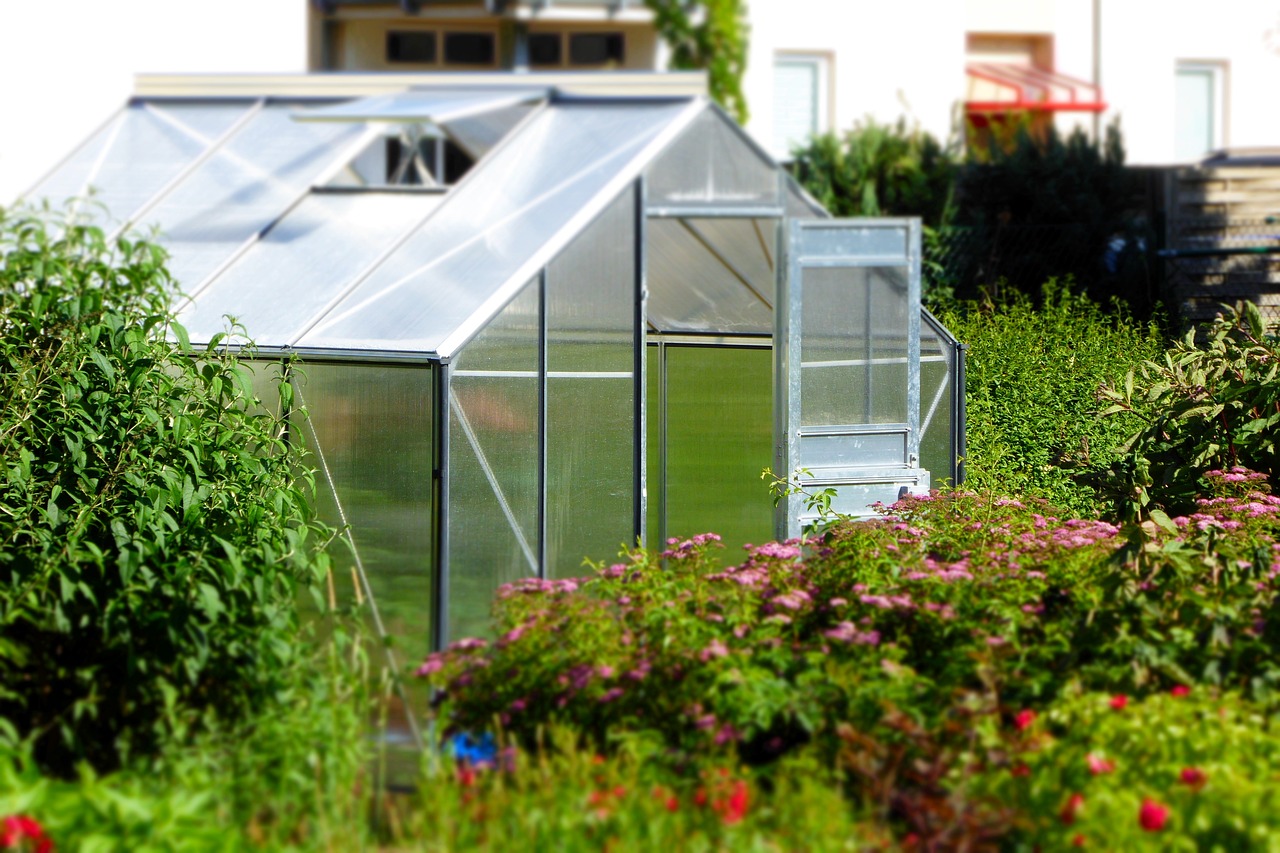
You may be asking yourself – Aren’t all greenhouses solar? – They are, but a passive solar greenhouse doesn’t use any supplemental heating, like propane, to keep it warm at night. The insulating nature of the greenhouse panels helps hold in heat to some extent.
After lots of research, some passive solar methods have been developed that work quite well! These techniques include:
- Siting of the greenhouse to take advantage of the sun’s path
- Strategically placed insulation
- Using certain colors inside the greenhouse for heat conservation.
- Using a “heat sink” to store heat during the day so it can be released at night.
Advantages Of A Passive Solar Greenhouse
Wonder what the advantages of a passive solar greenhouse are? Well, that’s pretty obvious:
- Grow plants longer during the season, or even year-round
- Economy – no extra heating costs
- Go green – a super-productive greenhouse without wasting fossil fuels
How can you use passive solar methods in your own greenhouse?
These techniques can be used in a DIY greenhouse as well as a greenhouse kit structure. Most can also be retrofitted into an already existing greenhouse.
Site location & orientation
The sun beats strongest from the south (in North America). If you have a greenhouse with one wall predominantly glazed to catch the sun, try to face that wall true south.
The long axis of the greenhouse should point east and west, with the solid, unglazed, or smallest wall to the north. It is also helpful, but not crucial if the north wall has some protection from the wind.
Sometimes, optimal site location just isn’t possible, due to trees or other large obstacles shading from the south. In this case, you can angle within 15 to 20° of true south and still catch 90% of the sun.
Or, choose a more favorable location. Plenty of sunlight is essential for greenhouses, and you want to grab as much of the sun’s free energy as possible.
Greenhouse insulation
Ideally, the greenhouse walls and glazing panels themselves have some built-in insulation. If you haven’t chosen your greenhouse yet, keep that in mind when selecting building materials or a kit.
When laying a foundation, whether concrete, pea gravel, or just weed mat, it would be very helpful to lay down a layer of rigid insulation board (found at building supply, usually pink or light blue sheets) before adding the top material. This is a cheap method to decrease heat loss through the ground.
Also, add sheets of the insulating board to the unglazed portions of the roof and north wall. Any solid walls should be heavily insulated.
Color!
Aside from the actual greenhouse panels (glass or plastic), paint the entire interior of the greenhouse glossy white. This reflects heat and light and gives the plants more even growing power. For surfaces that are not paintable, install white panels of plastic, such as cheap wall paneling. Just make sure they are waterproof and not pressboard. White.
The other important color for passive solar greenhouses is flat black. This color is used for the heat-absorbing water barrels we talk about next.
Storing solar energy – the “heat sink”
In order for your passive solar greenhouse project to work, you must have a way to store the heat gathered during the day, for release at night.
A heat sink is any material that serves this purpose. Concrete walls and pea gravel flooring both help absorb heat. But the most reasonable and often used material is water, which has a great capacity for absorbing and storing heat.
At night, when the temperature drops, that stored heat is gradually released into the greenhouse.
The heat sink is the heart of passive solar greenhouses – How to make a water-based heat sink?
Heat sink for small greenhouses
For small greenhouses, 8×8 to 10×12, use clean plastic 1-gallon milk or water jugs. Nail together a simple bookcase-like frame, sized to hold rows of these jugs. Or get a carpenter friend to knock one together for you.
Use pressure-treated lumber, 1x6s should work well.
This is going to line the north wall of the greenhouse, so the sun hits it directly. First, line that wall with rigid insulation board and then place the wooden frame.
Ask friends and neighbors to save 1-gallon milk jugs with caps for you. Wash them out well and allow them to dry. Then spray paint them flat black. When thoroughly dry, fill with water, seal, and then line the jugs up on the shelves.
How many gallons? Depends on where you live.
Rule of thumb: For the south or middle states, use 2-3 gallons of water for each square foot of glazing (glass or plastic greenhouse panels). Northern climates would require at least 5 gallons of water for each square foot of glazing.
I know that sounds like a lot of milk jugs: just do the best you can. Also, remember the jugs will only last 2-3 years before degrading in the sun. Before that happens, start saving new jugs.
Heat sink for a large greenhouse
For larger greenhouses with plenty of room, the most popular water vessel is the 55-gallon drum, either black plastic or painted flat black. Again, you need an insulation board installed on the north wall prior to adding a bank of barrels. Then line up each barrel, fill with water, and seal.
The barrels can be stacked 2-high if the top barrels are secured in some way, like with chain or rope. Don’t want one of those things falling on you while you’re pruning tomatoes!
You can find these 55 drums cheaply if you look around: check online under industrial cleaning materials (they use them to store the solutions) or try craigslist, “55-gallon drums”.
For intermediate-sized greenhouses, you could use 5 gallon buckets, painted flat black.
How much water? Use the same guidelines as above!
How The Heat Sink Works
As temperatures drop at night, the heat absorbed by the water vessels is radiated back into the greenhouse. When properly done, the temperature inside the greenhouse stays an average of 20 to 30° warmer than outside, even in the dead of winter!

If the greenhouse is unused and unheated during the winter, remove the buckets or empty out the water so it doesn’t freeze and destroy the buckets.
In summer, remove the water buckets to avoid adding too much heat at night. Insulation should be left in place as it protects against heat transferring in. Strategic use of vents and fans help cool the greenhouse down in hot weather.
Source: www.backyardgardenlover.com


0 Comments